one point perspective drawing:http://chuyisong.blogspot.hk/2016/05/exp3-week-one-one-point-perspective.html
two point perspective drawing: http://chuyisong.blogspot.hk/2016/05/exp3-week-two-two-point-perspective.html
mashup: http://chuyisong.blogspot.hk/2016/05/exp3-week-one-mashup.html
The designer envisions the proposal as an innovative and sustainable solution, integrating elements----daylight into the functional, mixed-use urban setting with glazed volumes, creating a glittering tableau of simple materials and clean, unfussy lines. Direct sunlight creates an intense modelling with harsh shadows and its direction during the course of the day has a major impact. The consideration of daylight capitalizing on the resulting efficiencies, is about much more than energy efficiency. The mixed-use nature of the buildings spotlighting the reflective, shimmering and transparent qualities of glass provides working spaces in close proximity, Their sense of vulnerability is tempered by this feeling of connection, containing their inhabitants without cutting them off from the world.
36 texture:


 roof
roof
 lecture seats
 gallery


Building explanation in plan:
1st floor


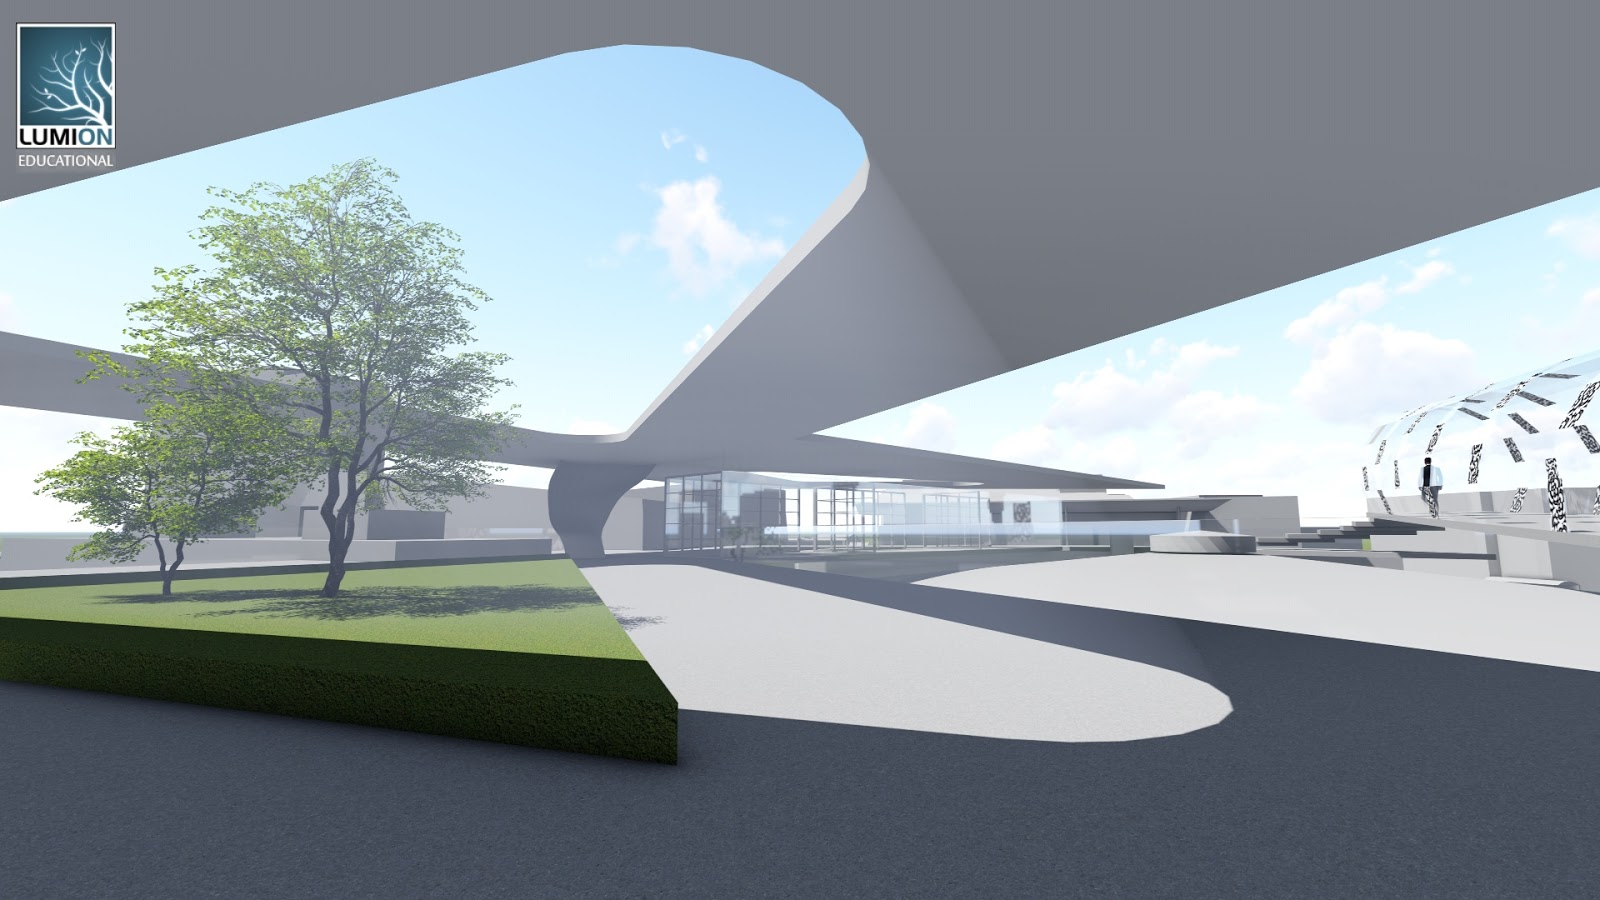
Real time images:


two point perspective drawing: http://chuyisong.blogspot.hk/2016/05/exp3-week-two-two-point-perspective.html
mashup: http://chuyisong.blogspot.hk/2016/05/exp3-week-one-mashup.html
The designer envisions the proposal as an innovative and sustainable solution, integrating elements----daylight into the functional, mixed-use urban setting with glazed volumes, creating a glittering tableau of simple materials and clean, unfussy lines. Direct sunlight creates an intense modelling with harsh shadows and its direction during the course of the day has a major impact. The consideration of daylight capitalizing on the resulting efficiencies, is about much more than energy efficiency. The mixed-use nature of the buildings spotlighting the reflective, shimmering and transparent qualities of glass provides working spaces in close proximity, Their sense of vulnerability is tempered by this feeling of connection, containing their inhabitants without cutting them off from the world.
36 texture:


Chosen texture:
 roof
roof lecture seats
 gallery
shown in model:


Moving element:
1. Moving Deck

The green deck can move between ground floor and second floor which forms a leisure place for students and staff, it also functions as a elevator between second and first floor, and provides shed for the first floor when it stops at the second floor.
2. Moving Roof

This roof moves as it provides sheds for the studio spaces and side deck at different time of the day, when it's moving, the shadow it projects is very beautiful.
Building explanation in plan:
1st floor

2nd floor:

3rd floor:

4th floor:

Draft model picture:


final sketchup model:
Real time images:
gallery

exterior

exterior

interior: self-study space

lecture room

leisure space
Dropbox link for lumion:
Comments
Post a Comment